
Understanding Swimming Pool Leak Detection Methods
Swimming pools are a joyful addition to any home, providing a perfect spot for relaxation and fun, especially during warmer months. However, keeping your pool in its best condition requires diligence, particularly when it comes to swimming pool leak detection. Identifying leaks not only preserves the pool’s water level but also prevents costly repairs and damages to the surrounding area. In this comprehensive guide, we will explore various swimming pool leak detection methods, including common causes of pool leaks, an overview of detection techniques, and a comparison of DIY versus professional approaches. For homeowners needing expert assistance, you can visit Swimming Pool Leak Detection to find specialized services.
Common Causes of Pool Leaks
Understanding the common causes of pool leaks is key to effective detection and prevention. Here are some of the most typical sources:
- Cracks in the Pool Structure: Over time, the pool shell may develop cracks due to ground movement or wear and tear. These cracks can be hard to find but can lead to significant water loss.
- Plumbing Leaks: Pipes and fittings that comprise the plumbing system can deteriorate or develop leaks, leading to water loss. Issues often arise during normal usage or from poor installation.
- Skimmer or Main Drain Issues: The skimmer and main drain are vital for water circulation and can be points of significant leakage when damaged.
- Faulty Equipment: Pumps, heaters, and filters can also contribute to leaks if they malfunction or are improperly sealed.
- Hydrostatic Pressure: In areas with high groundwater, hydrostatic pressure can lead to leaks or even damage the pool structure.
Overview of Detection Techniques
Pool leak detection can be a straightforward or complex process, depending on the location and severity of the leak. Here’s an overview of common techniques used for detection:
- Visual Inspections: Regular visual checks for any cracks or damages around the pool area can help identify potential issues early.
- Bucket Test: This simple method involves placing a bucket on the steps of the pool filled with water to the same level as the pool. If the water level drops faster in the pool than in the bucket, a leak may be present.
- Dye Testing: This technique involves adding food coloring near suspected leak areas. If there’s a leak, the dye will be drawn into it, helping to pinpoint the source.
- Pressure Testing: Often used on plumbing systems, this method involves pressurizing the pipes to determine if there is a loss of pressure indicating a leak.
- Thermal Imaging: Advanced detection utilizes heat sensors to identify temperature differences which may indicate leaks in pool plumbing.
DIY vs Professional Detection
Many pool owners wonder whether they should tackle leak detection on their own or hire professionals. Here’s a breakdown of the two approaches:
- DIY Detection: Homeowners can easily perform the bucket test or visual inspections themselves to check for leaks. These methods are cost-effective and can be done with commonly available supplies. Tools such as dye testing kits can also be purchased online to assist in identifying leaks.
- Professional Detection: Hiring a professional may be more efficient, especially for hidden and complex leaks. Experts use specialized equipment and techniques that can diagnose issues quickly and accurately, saving time and potentially preventing extensive damage.
Tools and Techniques for Effective Swimming Pool Leak Detection
Essential Tools for Homeowners
For DIY enthusiasts, having the right tools is essential for effective leak detection. Here are some tools that can assist you:
- Leak Detection Dye: This is a special dye added to the water near suspected leaks. The color change will help indicate the presence and direction of a leak.
- Pressure Gauges: Handy for pressure testing plumbing lines, these gauges help detect any pressure loss due to leaks.
- Submersible Pump: If the pool has a leak, draining the pool partially to inspect the bottom is sometimes necessary, which requires a submersible pump.
- Water Level Gauge: Monitoring the water level over time can help detect inconsistencies that suggest a leak.
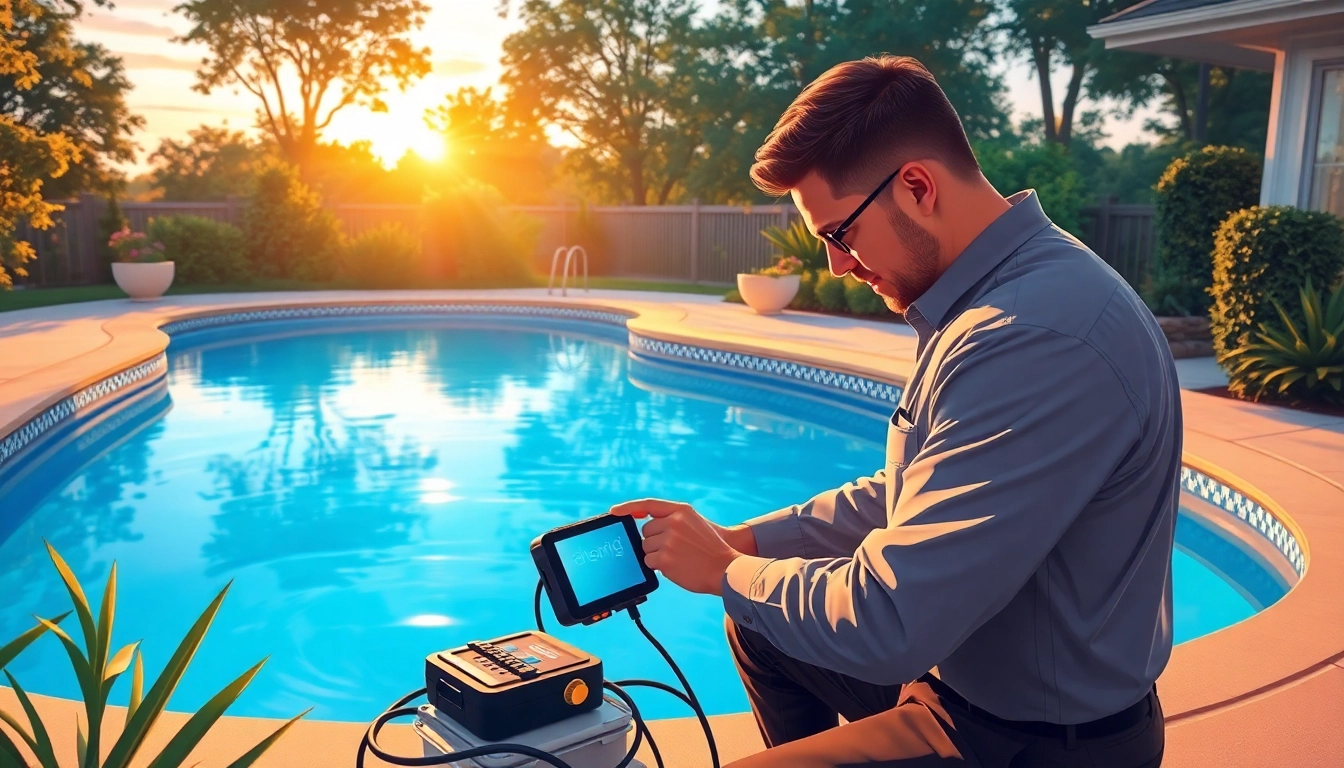
Advanced Equipment Used by Professionals
Professional leak detectors use a variety of advanced equipment to identify and locate leaks and can include:
- Acoustic Leak Detection: This involves using sensitive listening devices to hear escaping water and locate leaks within plumbing systems.
- Infrared Thermal Cameras: These can detect cold spots or irregular temperature changes around potential leak areas.
- Smoke Testing Equipment: Smoke testing involves introducing a smoke or vapor into the plumbing system to identify leaks based on escaping pressures.
- Chlorine Tablets: Sometimes used in conjunction with visual inspections, these tablets can help reveal leaks when placed in suspect areas.
Step-by-Step Guide to Using Detection Tools
Once you gather your tools, follow these steps for an effective leak detection process:
- Preparation: Ensure the pool is clean and free from debris around suspected leak areas.
- Visual Inspection: Conduct a comprehensive visual inspection of the pool surface, skimmers, hose connections, and plumbing fittings.
- Bucket Test: Place a bucket in your pool as previously described and monitor the levels for discrepancies.
- Dye Test: Apply dye near suspicious spots and observe for movement into cracks or other openings.
- Pressure Test: If you suspect a plumbing issue, use a pressure gauge to test the dedicated lines. Record the pressure drop, if any.
Signs Your Pool May Be Leaking
Water Level Fluctuations
One of the first signs of a potential pool leak is unusual fluctuation in the water level. A pool losing water at a rate that exceeds evaporation could signal a leak. Monitoring the water level regularly helps homeowners detect such changes early on.
Damage to Surrounding Areas
Observing damage in areas surrounding the pool can also point to leakage. Look out for signs such as:
- Wet spots or dampness: Saturated areas around the pool deck may indicate a leak.
- Vegetation problems: If plants around the pool show signs of overwatering or dying, it could be due to leakage.
- Soil erosion: Uneven settling or heaving of the ground around the pool can indicate a leak.
Water Quality Issues
Leaking pools can lead to water quality problems, such as:
- Unbalanced pH Levels: A sudden demand for chemical treatment may signal a leak.
- Algae Growth: If algae starts growing in unexpected areas, it might relate to poor water circulation due to leaks.
Implementing Swimming Pool Leak Detection Techniques
Best Practices for Regular Maintenance
To maintain a leak-free swimming pool, consider the following best practices:
- Regular Check-Ups: Conduct regular inspections and tests to ensure no leaks develop unnoticed.
- Cleansing: Regularly clean skimmers and drains to prevent buildup that could cause unexplained leaks.
- Winter Preparation: Properly winterize pools to avoid damage that can occur during freezing temperatures.
Identifying Leak Locations with Precision
When identifying leak locations, it’s crucial to approach with a systematic method:
- Start from the Surface: Inspect the visible above-ground features before looking underneath.
- Trace Plumbing Lines: Follow the plumbing routes to spot any glaring signs of damage or leaks.
- Utilize Tools Effectively: Always use the proper tools in conjunction with each method to enhance efficient detection.
Conducting Pressure Tests Safely
Pressure testing should be performed following safety precautions to protect both the tester and the pool. Here’s how to conduct pressure tests safely:
- Use Proper Equipment: Ensure that all equipment is rated for the pressures that will be applied.
- Follow Manufacturer Instructions: Always adhere to guidelines provided with testing equipment to prevent mishaps.
- Inspect Before Testing: Before starting a test, check the lines and fittings for any visible signs of wear that could further complicate the issue.
Cost-Effective Solutions and Repair Methods
Estimating Leak Repair Costs
The cost for repairing swimming pool leaks can vary widely based on the nature and location of the leak. Factors that may influence costs include:
- Type of Repair: Simple patch-ups may be cost-effective, while structural repairs can be more expensive.
- Labor Costs: Hiring professionals can significantly affect the total cost depending on the extent of the damage.
- Accessibility: The easier it is to access a leak, the more cost-effective the repair tends to be.
Choosing the Right Repair Method
Choosing the right method to repair a pool leak is crucial for effectiveness. Consider:
- DIY Repairs: Minor cracks and issues can often be fixed with DIY kits available from home improvement stores.
- Professional Repairs: For more serious issues, engaging a skilled technician ensures proper identification and repair of the leak.
Preventative Measures for Future Leaks
To prevent future leaks from developing, adhere to these preventative measures:
- Proper Maintenance: Regularly maintain and inspect pool equipment, plumbing, and surfaces.
- Monitor Water Levels: Keep an eye on any significant changes to water levels that may indicate leaks.
- Invest in Quality Equipment: Utilize quality parts during repairs to minimize future issues.